前言
本文将介绍如何在 Windows11 上构建 Zed 编辑器。
依赖性
- Zed 是由 rust 编写的,因此需要安装 rust 工具链。
- 安装 Visual Studio 2022 ,安装符合电脑架构的 C++ 工具集。

主要是如下组件:
{
  "version": "1.0",
  "components": [
    "Microsoft.VisualStudio.Component.CoreEditor",
    "Microsoft.VisualStudio.Workload.CoreEditor",
    "Microsoft.VisualStudio.Component.VC.Tools.x86.x64",
    "Microsoft.VisualStudio.Component.Windows11SDK.26100",
    "Microsoft.VisualStudio.ComponentGroup.WebToolsExtensions.CMake",
    "Microsoft.VisualStudio.Component.VC.CMake.Project",
    "Microsoft.VisualStudio.Component.VC.Runtimes.x86.x64.Spectre"
  ],
  "extensions": []
}
构建
安装完依赖项后,可以从源代码构建 Zed 编辑器。
Clone Zed Repository
gh repo clone overstarry/zed
cd zed
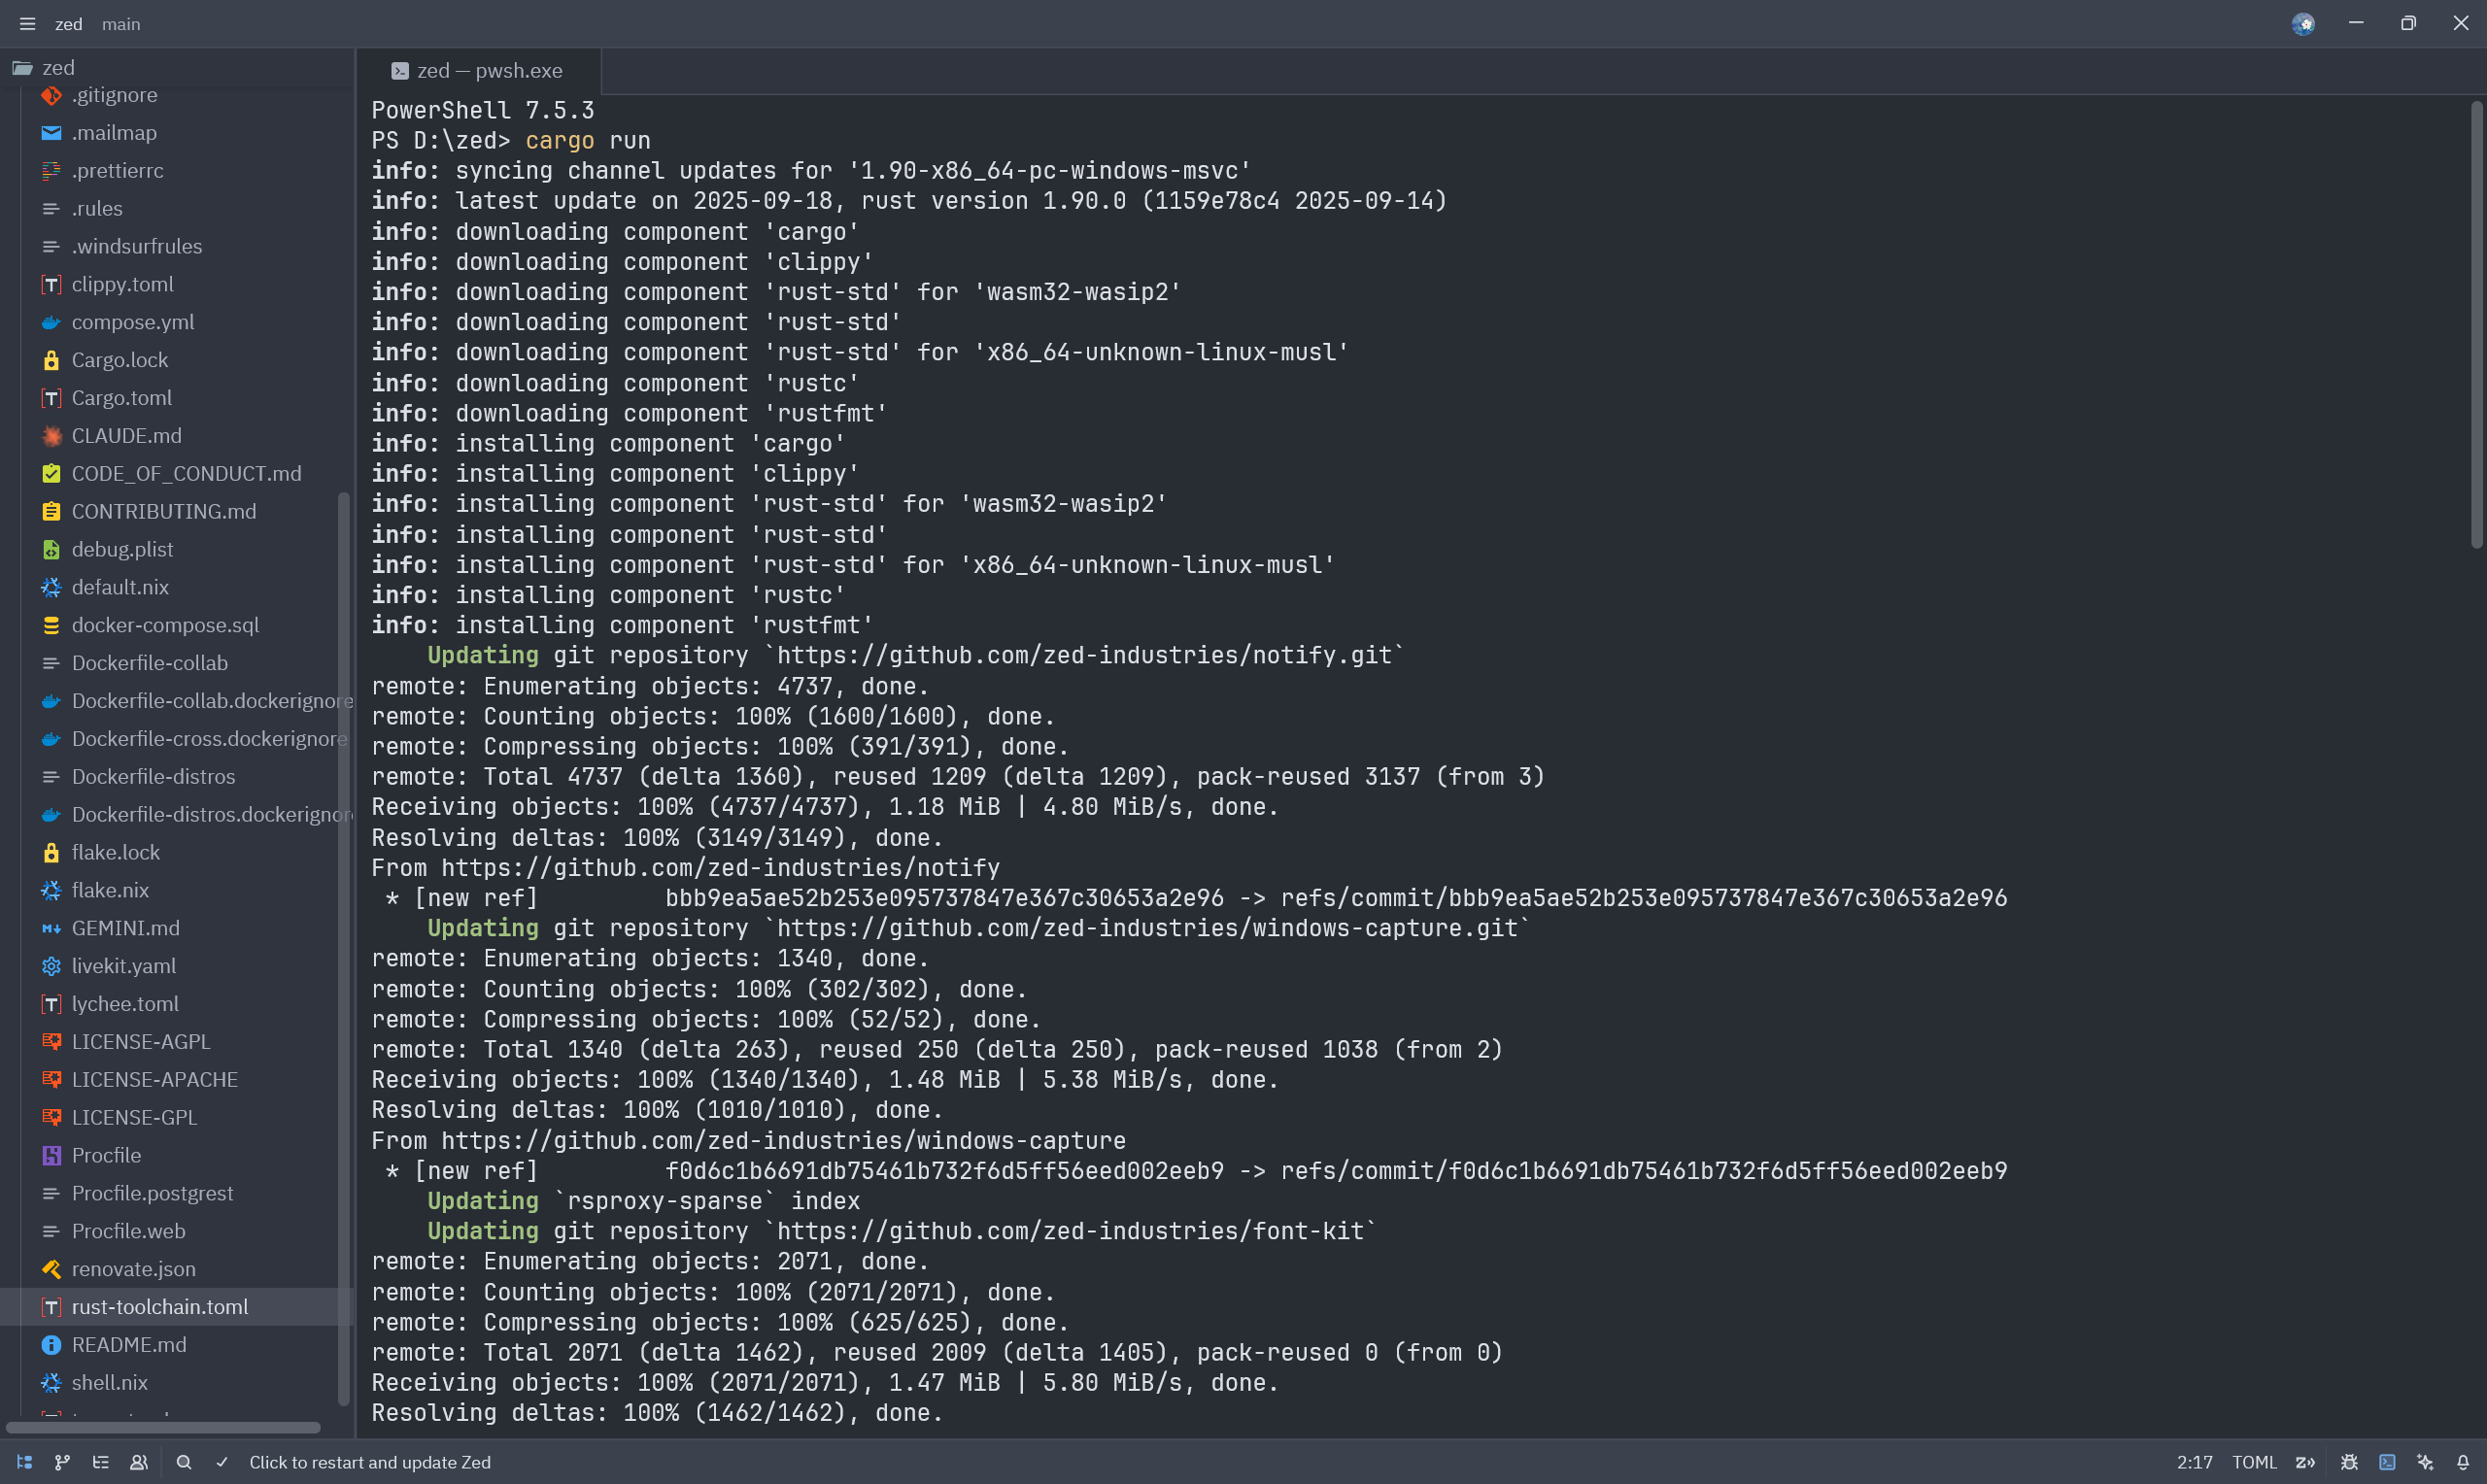
构建 debug 版本
cargo run
编译中出现了
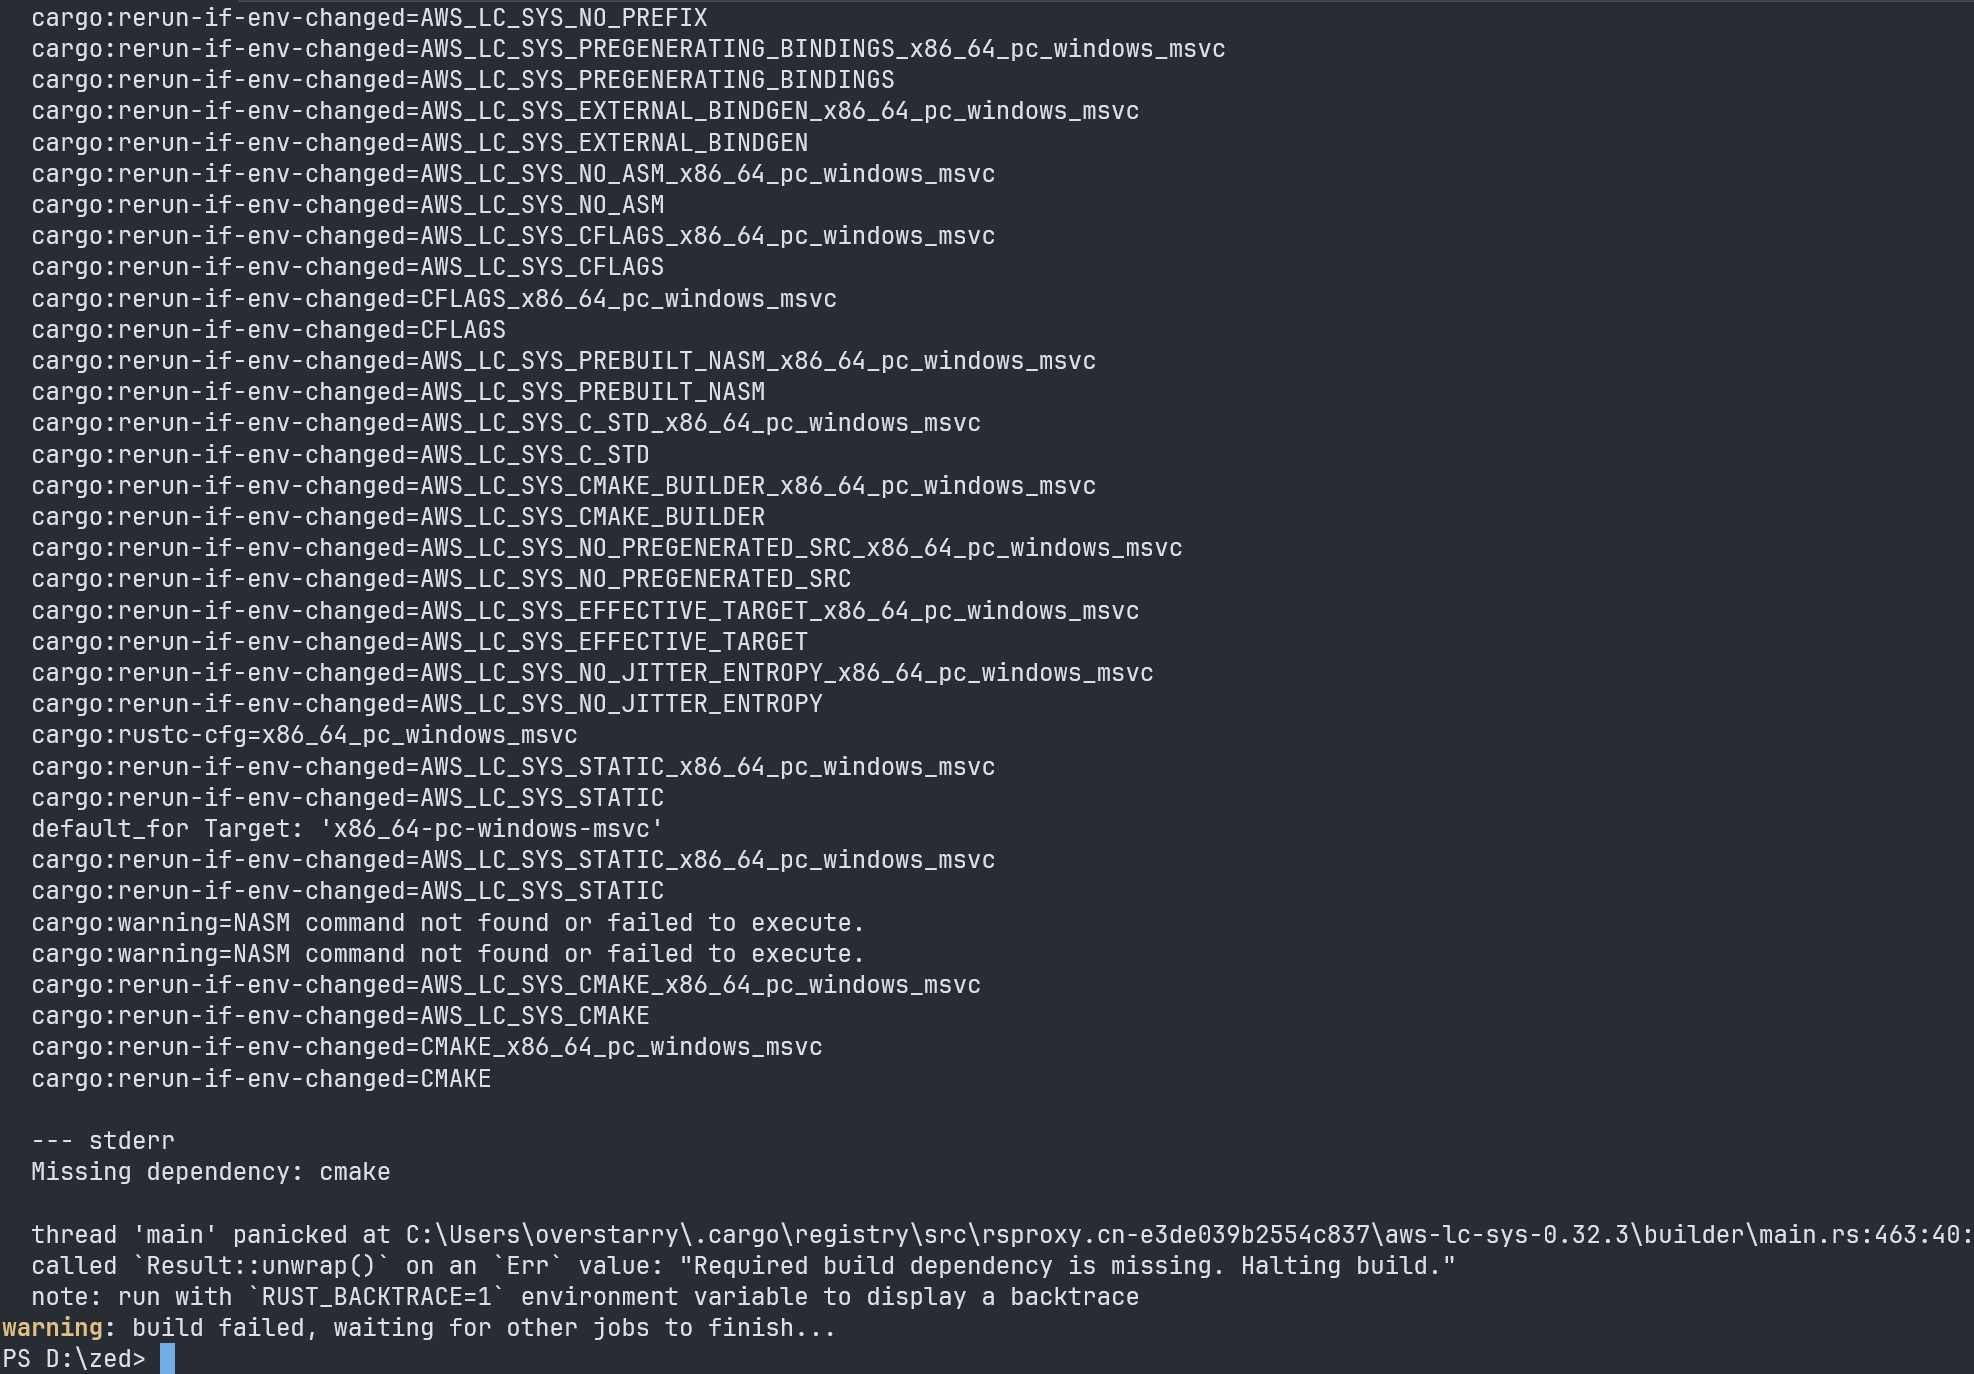 ,需要将前面安装的
 cmake 添加到环境变量中。
设置完,重新运行 cargo run 即可。
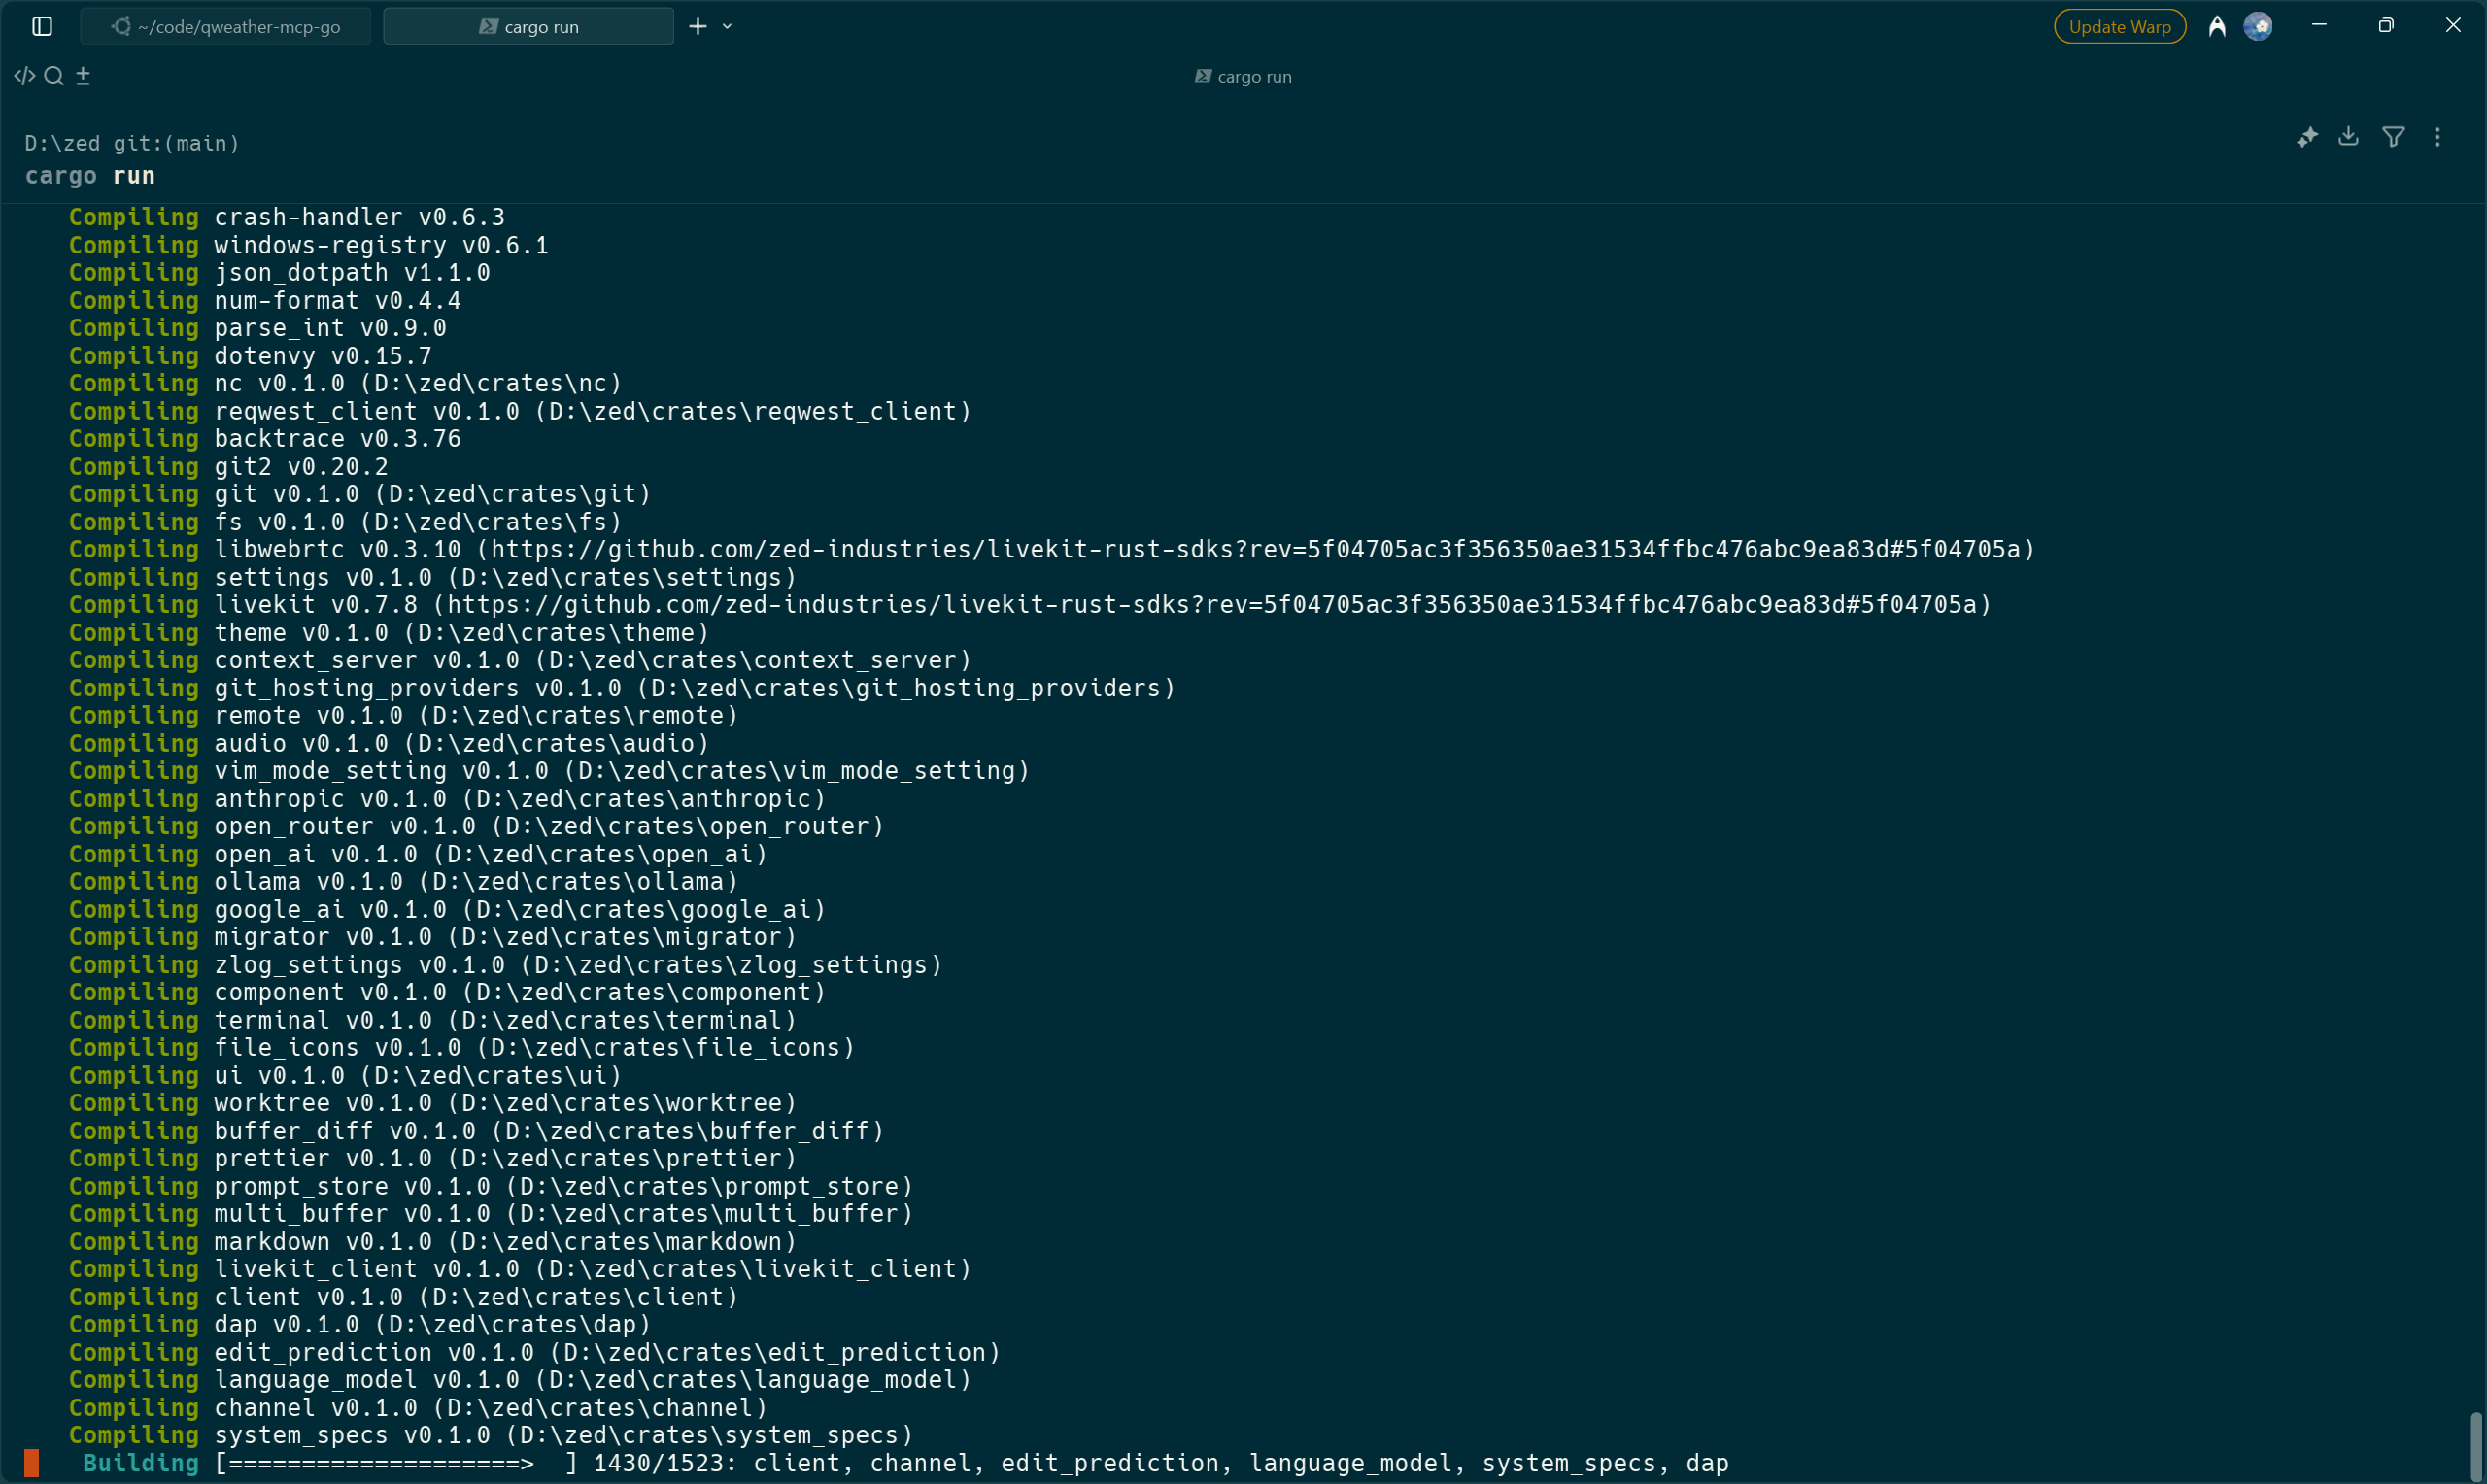
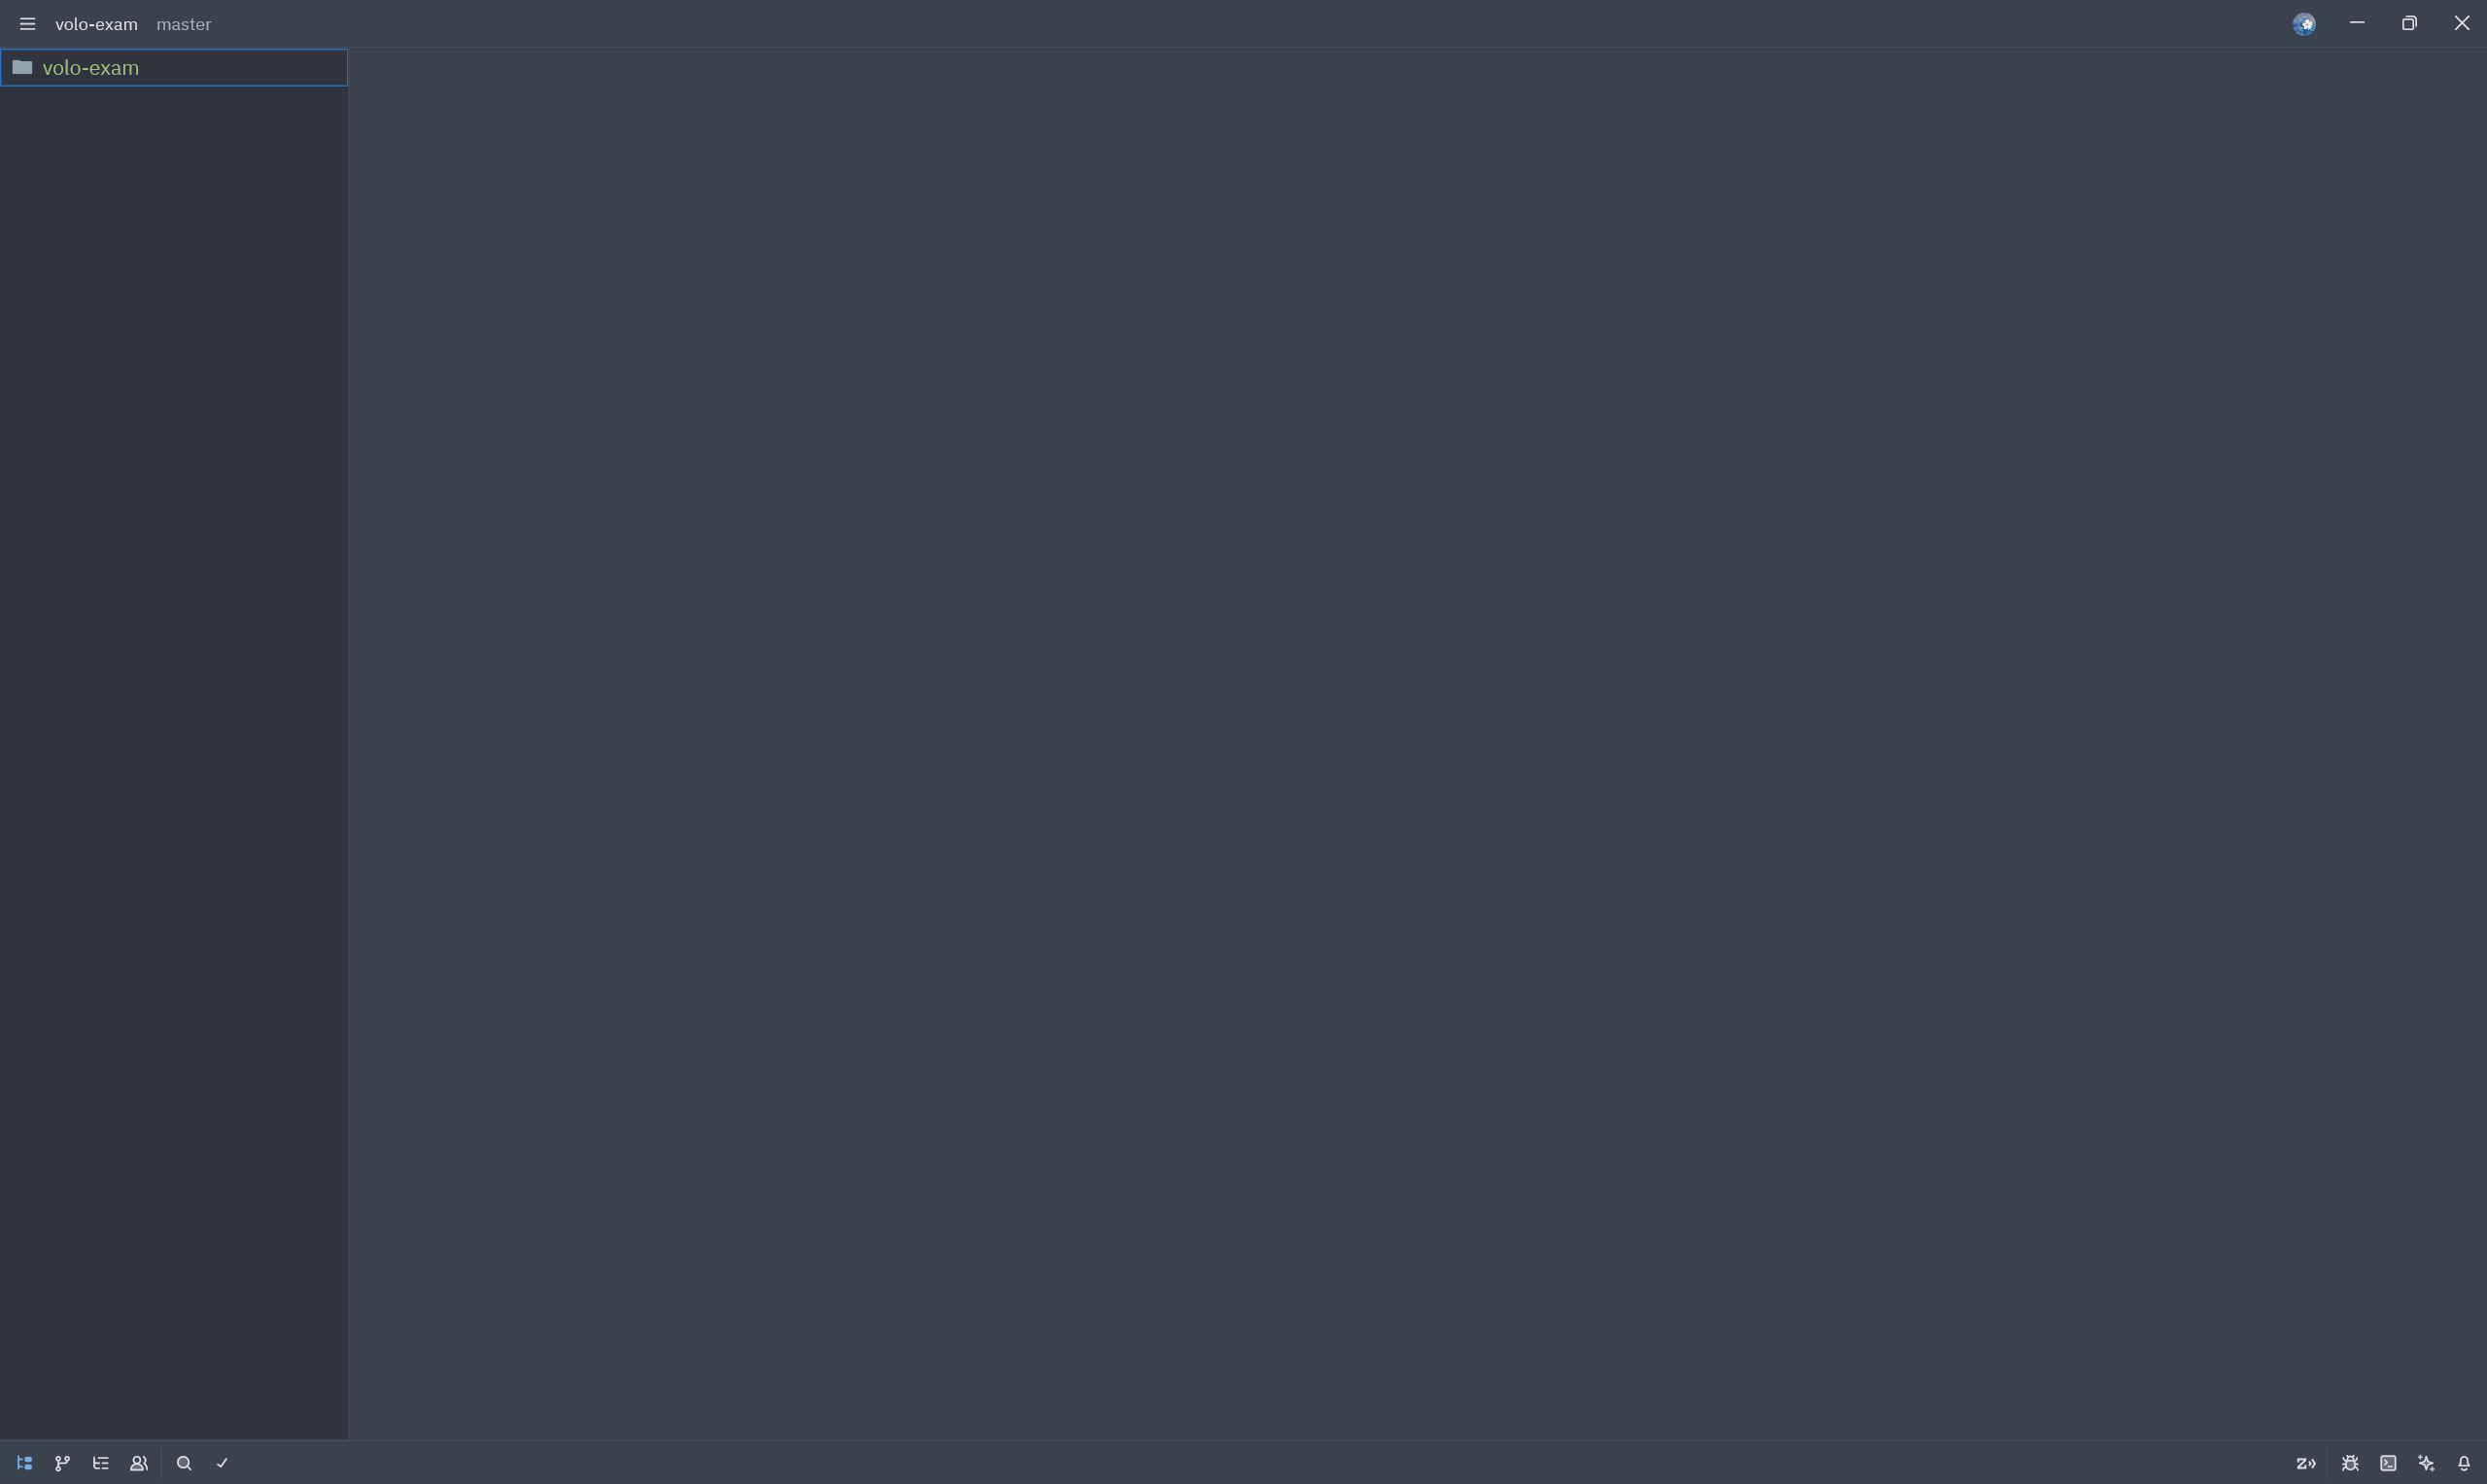
过了好一阵子,编译成功了。
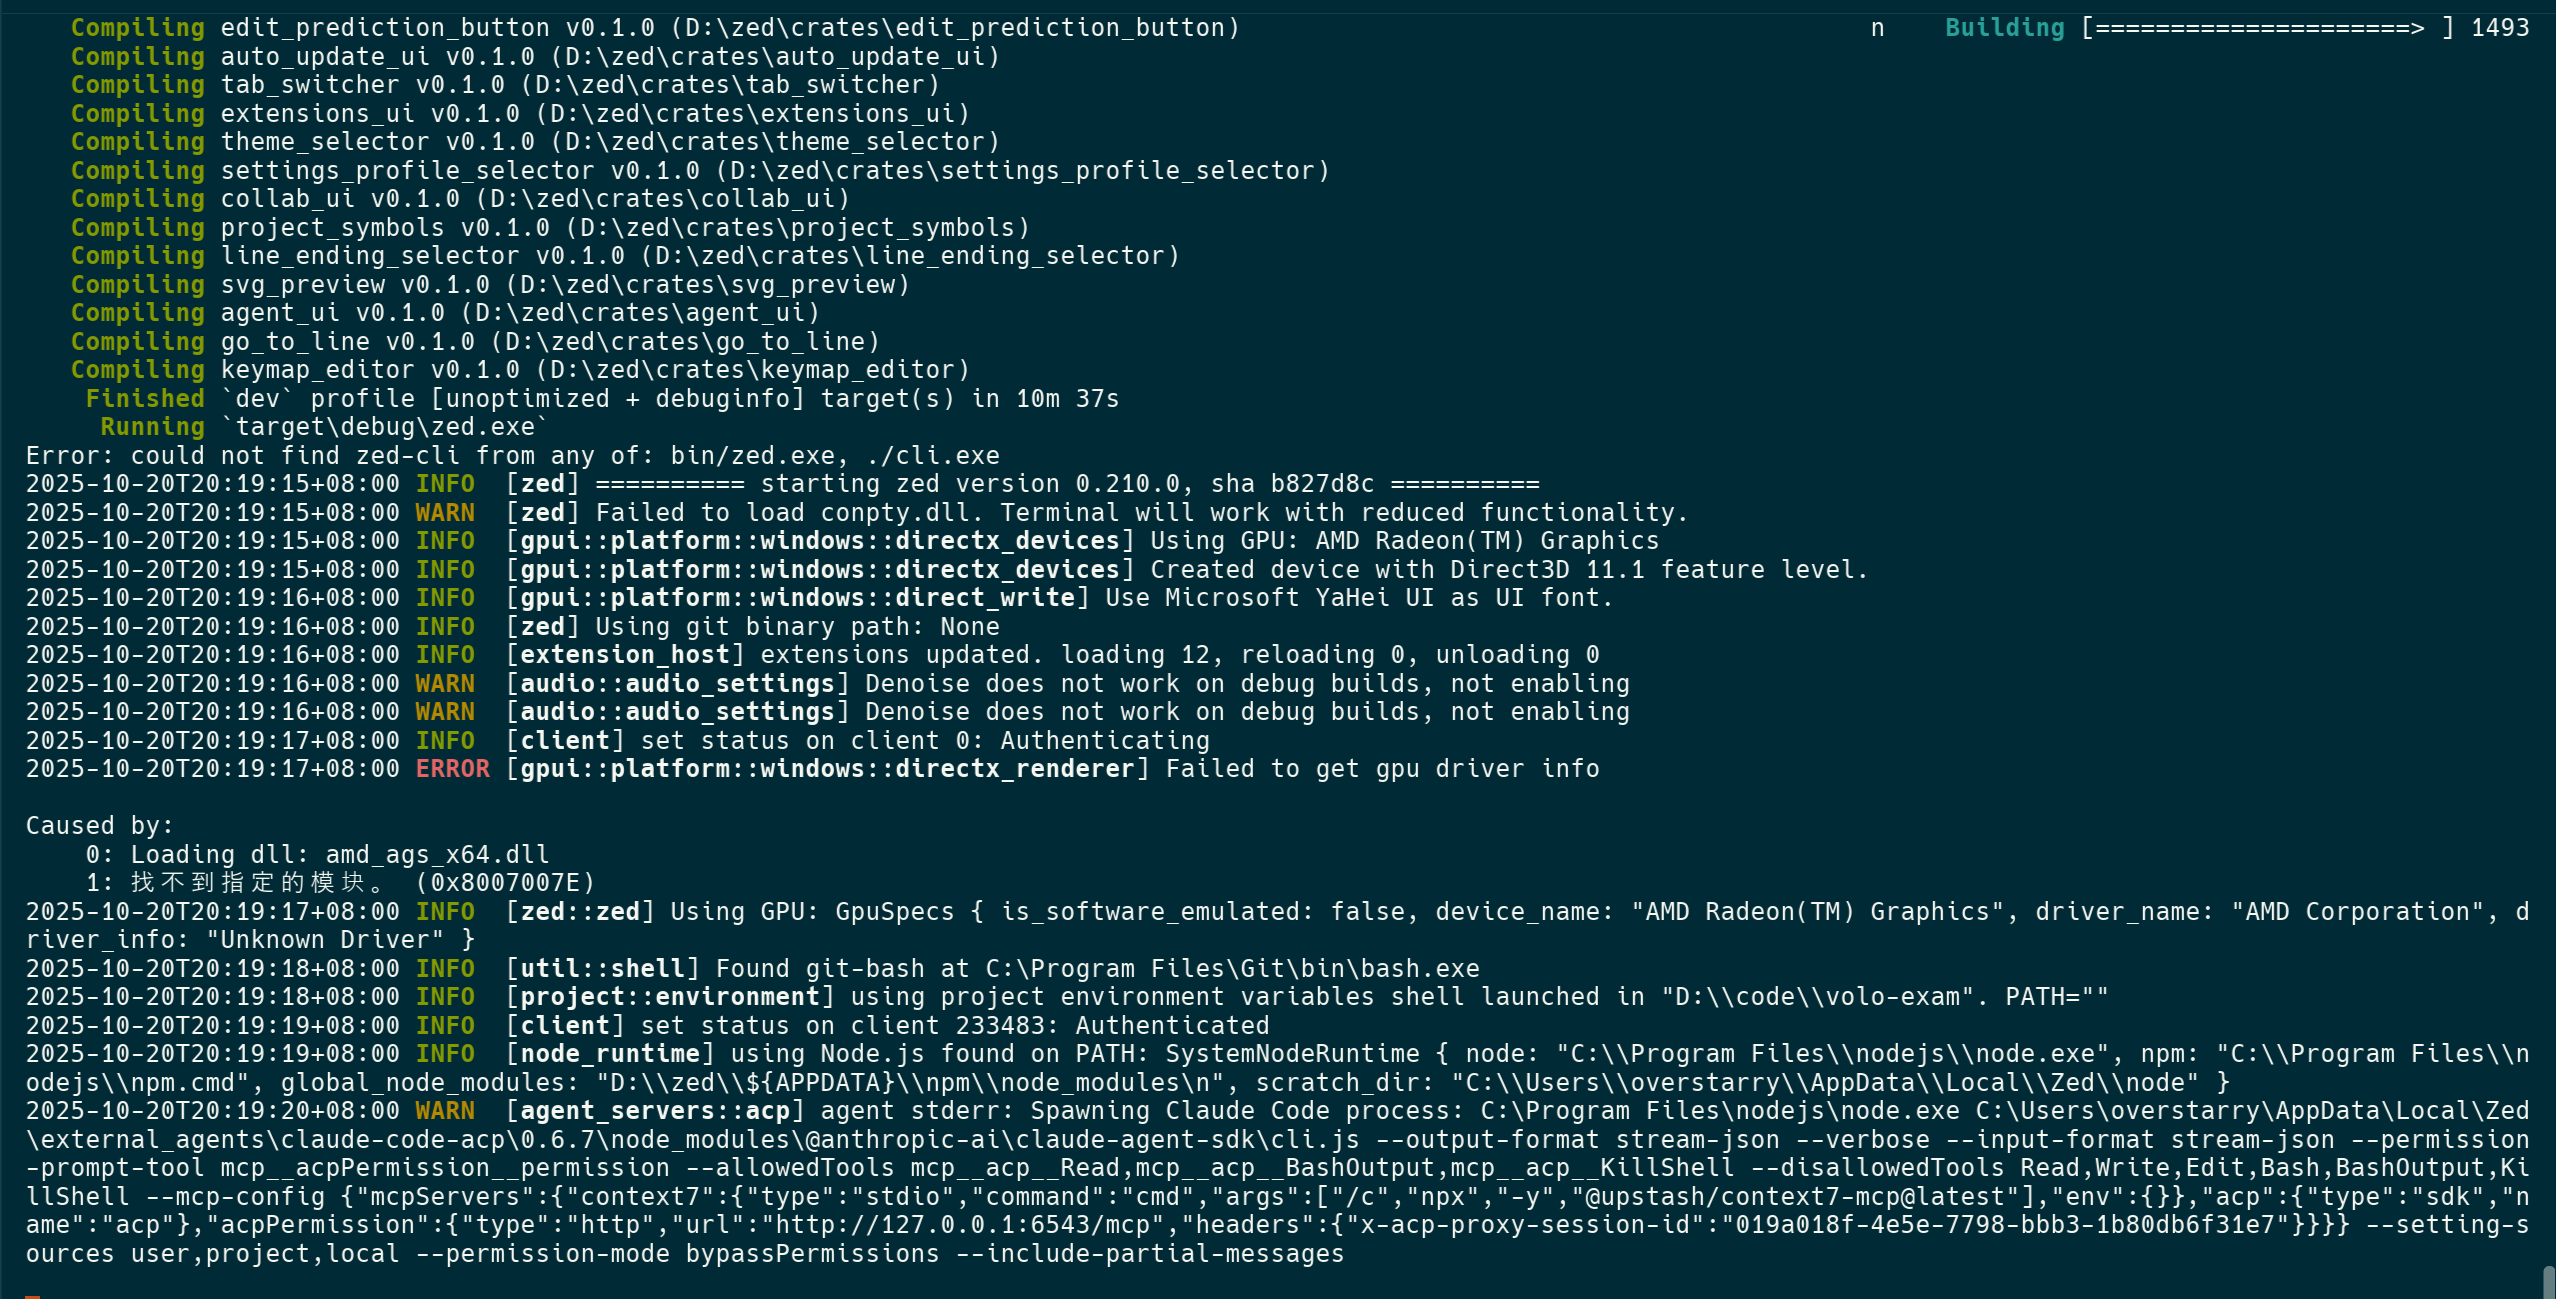
程序会自动打开
小结
通过以上步骤,我们成功在Windows 11上构建了 Zed 编辑器。关键在于正确安装 Rust 工具链和 Visual Studio 的 C++ 组件,特别是 CMake 工具的路径配置。构建过程中可能遇到环境变量问题,但通过添加 CMake 到 PATH 即可解决。最终,debug版本的Zed会自动启动,证明构建成功。
建议在构建前仔细检查所有依赖项的安装,并参考官方文档以获取最新信息。
参考
[1] https://github.com/zed-dev/zed
[2] https://zed.dev/docs/development/windows#building-zed-for-windows